Setting up a conversion funnel in Google Analytics is a simple task that every retailer on the planet needs to have in their toolkit. Not only does it empower you to understand how and when people drop out during your conversion process, it also allows you to measure your cart abandonment rate over time.
Setting up a funnel in your account allows you to identify “leaky buckets” when it comes to conversion on your site that you wouldn’t otherwise be able to see. There are two central ideas when it comes to setting up these reports for your site: a goal & a funnel. A goal can be a number of different things:
- A url destination ex. /confirmation.php
- A duration ex. 5 minutes onsite
- Pages/screens per visit ex. 5 pages
- Event ex. clicked “buy now” button
A funnel represents the path that a customer takes to reach your goal. For the purposes of measuring cart abandonment, we’re going to use a URL destination as our goal. Typically, that destination is your thank you page or order confirmation page.
To get started building funnels on your site, we put together a short video to walk you through the process. We hope it’s helpful! If video isn’t your thing, read on for written instructions as well.
How to Set Up a Shopping Cart Funnel in Google Analytics
For the sake of this demo, we’re going to use a multi-step checkout as our path to conversion.
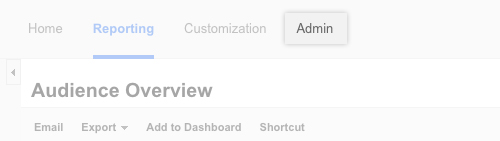
1) Sign into your Google Analytics account and click Admin in the upper right-hand corner.
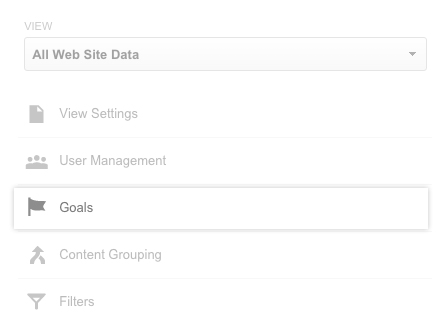
2) Choose the profile that you’ll be setting up the funnel for and click on Goals
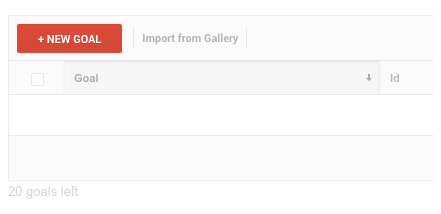
3) To set up a new goal, click Goals, then click the + New Goal button
4) Create a Custom template, and click Continue.

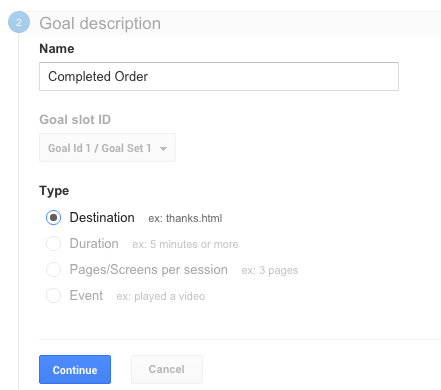
5) Next, you’ll set up your Goal Description and the Type of goal you’d like to track. Name your goal Completed Order and choose Destination for cart abandonment and select Continue.
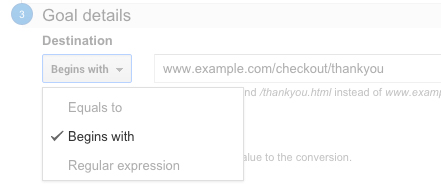
6) Now enter the URL of the last page in your sales funnel – where you want your customers to end up – inside the Destination Equals to field. Think Confirmation page.
IMPORTANT: You will need to select Destination Begins With for your URL if your website dynamically injects a number at the end of your confirmation page.
7) Next, set the Funnel Option to On. Do a test checkout as your customer would, noting each step in the process. Add in the additional steps as the funnel leading up to your confirmation page. Leave the Required option Off your first URL*.
– Cart page (example: yoursite.com/checkout/cart/)
– Checkout page (example: yoursite.com/checkout/onepage/)

IMPORTANT: Note that setting your first URL to be required means that customers will only be able to enter the sales funnel listed in step one.
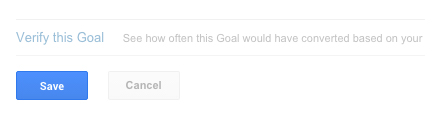
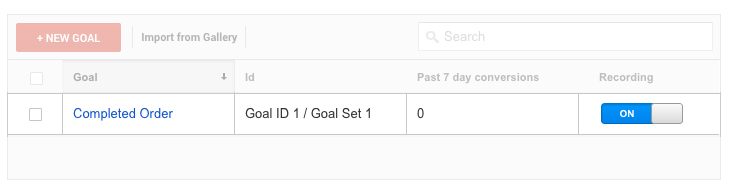
8) Save your new goal.
9) The data for your funnel report will begin aggregating over the next 24 hours.
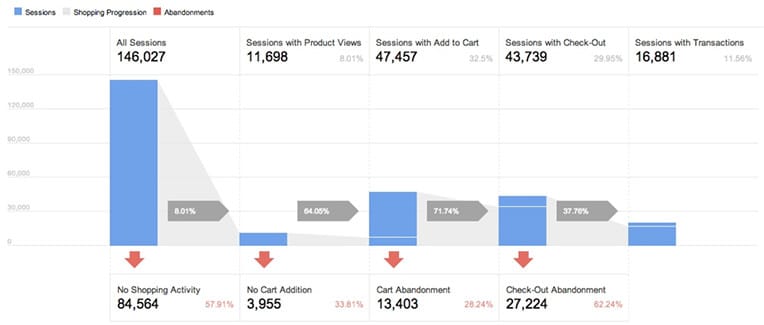
10) You can view your funnel report by clicking Conversions in the left hand sidebar of Google Analytics, then Goals > Funnel Visualization

The end result will look something like: